I go the first day, the first week, sometimes even the first month of each class in a state of raw terror. This would be logical, even normal, if my fear was a reaction to the responsibility, the public speaking, or the content. My fear, however, comes from the names. While I have tried a number of strategies for name retention, I haven’t had much success—until this year when I came up with an idea for digital flash cards. It’s worked so well that the editors of theater-historiography.org invited me to share this walk-through of my process on the site.
Step 1: Signature List. Hand out a sign-in sheet (Pro tip: don’t distribute the list until all of the students are there and seated. If students come in after the fact the list and the photo won’t match up).
Step 2: Photos. Take a picture of the class. Make sure the students aren’t hiding behind people in front of them. If you prefer, you could also take individual photos.
Step 3: Edit and Label. If you are using a group photo, open it in a program that allows image cropping (Paint works fine). Use the select tool to draw a box around a student’s head. Once you have it how you want it, hit crop. Then, use your signature list to find the student’s name. Save the newly cropped photo (as a .jpeg) using the student’s name as the file name. Repeat with each student. If you are using individual pictures, just edit the file name of each on using your signature list for reference.
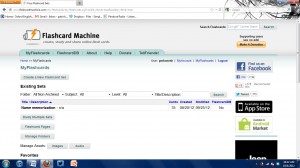
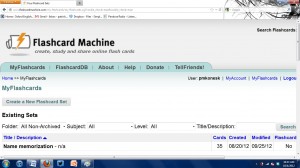
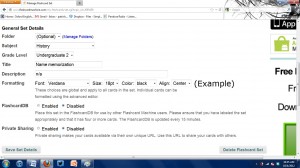
Step 4: Make Flashcards. Next, create a free account on flashcardmachine.com. After you are logged in, click on “create a new flashcard set.” Fill in the information, being careful to disable flashcard database. If you don’t do this, anyone who uses the site will be able to access your cards. After you’ve filled in the information, click on “save set details.”
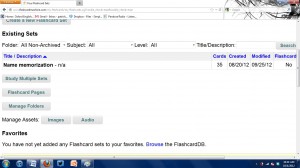
Back under the “MyFlashcards” home-screen, click on “manage assets: images.” Use the browse feature to upload each of the individual student files that you’ve created. Be sure to label the uploads.
At the home-screen once more, click on your newly created set. Next, click on “advanced editor” and then “create a new card.” In the “term” section, click on image and then use the “from your collection” bar to use a student photo. In the “definition” section, select “plain text,” fill in the student’s name, and save. Repeat for each student.
Step 5: Drill. Back at the home-screen, click on the set and then on “start study session!”
I’m not promising this won’t be tedious! If anyone can eliminate that part of learning names, you’ll read about it here! Break the drilling into chunks or multitask with your favorite tv show. Even with the tedium, there are three big advantages: 1) you can review throughout the semester, 2) you can import to multiple lists if the student is in other classes, and 3) You can download a Flashcard Machine app for Apple and Android smart phones.


